In this article, we’ll discuss the importance of user management processes, highlight the built-in functionalities you can utilize, and explain how recent enhancements can improve workflow efficiency for all users.
1. General Availability of User Access Policies
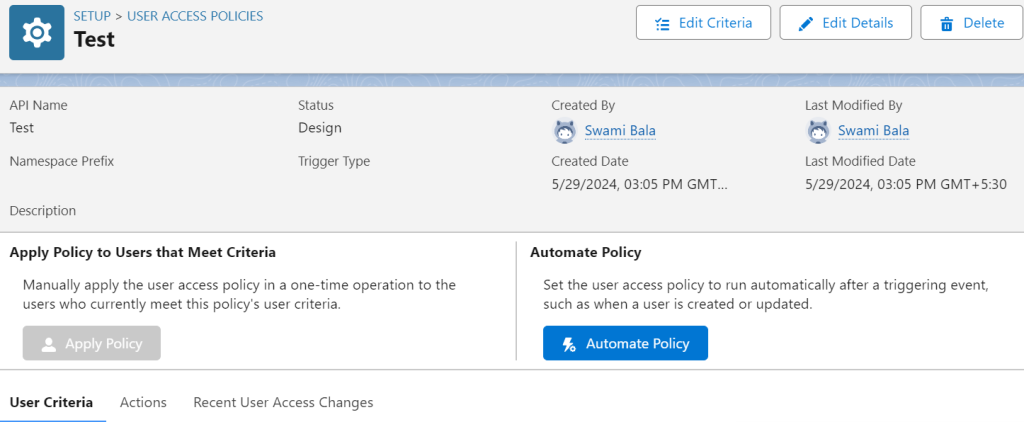
User access policies have transitioned from beta to general availability, offering a powerful tool for automating user permissions and memberships. Admins can now automatically assign or remove permission sets, permission set groups, queue or group memberships, and various licenses based on specific user criteria. This can be done as a one-time action or set as an ongoing automation triggered by user creation or updates.

The Summer ’24 release significantly increases the number of active policies from 20 to 200, accommodating a wide range of organizational scenarios. Additionally, admins can now set the order of policies, providing more control and ensuring efficient orchestration. The access changes tab allows for easy auditing of changes made by these policies.
2.User and Public Group View Summaries
Responding to feedback from the Trailblazer Community, Salesforce introduces the View Summary button for user records, simplifying the process of checking user access. This feature consolidates object and field permissions, user permissions, public group memberships, queue memberships, and custom permissions into one accessible view.
A similar summary view is now available for public groups, displaying where each group is used within your org, including sharing rules, list views, report, and dashboard folders. This enhancement significantly reduces the time and effort required to manage user and group permissions.
3. Permission Set and Group View Summaries
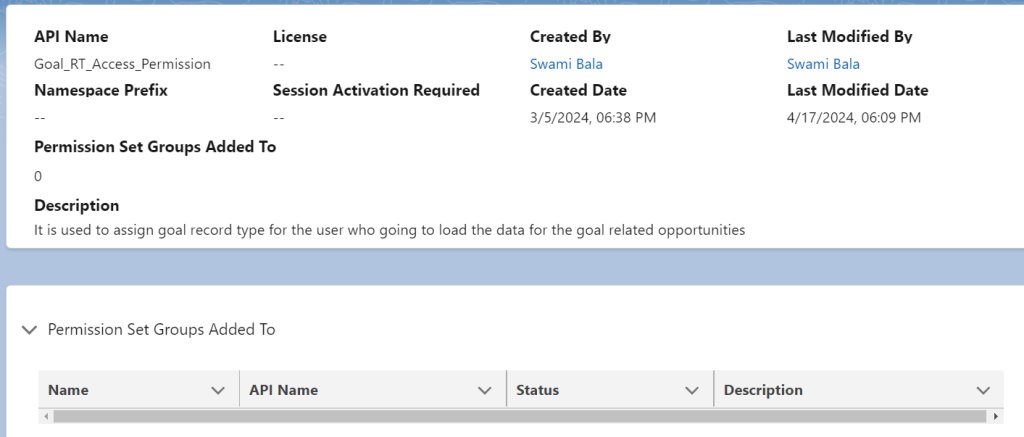
The View Summary feature has now been expanded to include permission sets and permission set groups, improving user experience and navigation efficiency. Previously available in beta, this feature is now generally available in production orgs. It allows admins to swiftly access comprehensive details such as related permission set groups, object and field permissions, user permissions, and custom permissions.

By consolidating all this information onto a single page, managing permission sets and groups becomes significantly easier and faster, eliminating the need to navigate through multiple sections.
4. New Permissions for User Management
To improve security and limit extensive permissions for non-admin users, Salesforce introduces two new user-specific permissions: Freeze Users and Monitor Login History. Previously, these actions required the Manage Users permission. With the Summer ’24 release, these capabilities are now separate, allowing for more granular control.
These new permissions are accessible in the System Permissions section of your permission sets, providing flexibility in user management without compromising security.
5. Dev Sandbox Management Permissions
The Summer ’24 release introduces a new permission specifically for managing Developer and Developer Pro sandboxes. The Manage Dev Sandboxes permission restricts sandbox manipulation capabilities, ensuring that full and partial copy sandboxes remain under the control of a limited number of admins. The traditional Manage Sandboxes permission will still be available but should be reserved for more extensive sandbox management tasks.
Conclusion
The Summer ’24 Salesforce release significantly enhances user management capabilities, providing admins with more control, efficiency, and security.


