Introduction:
In this article, we’ll guide you through the steps to transform your internal Salesforce site into a public-facing platform, unlocking new opportunities for engagement, growth, and success. Let’s embark on this journey together as we explore the process of making your Salesforce experience site public..
Steps to follow:
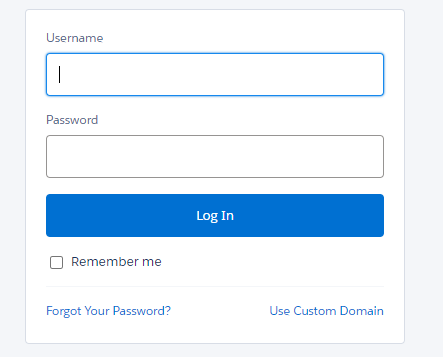
Login to Salesforce:
Navigate to the Salesforce login page and enter your credentials to access your Salesforce organization.
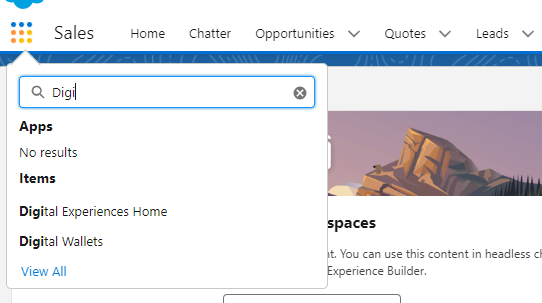
Access Experience Builder:
Once logged in, go to the App Launcher (grid icon) in the top-left corner. Search for and select “Digital Experience” from the list of available apps.
Select the Experience Site:
In Experience Builder, locate and select the Experience Site you want to make public from the list of available experiences using the ‘Builder’ button.

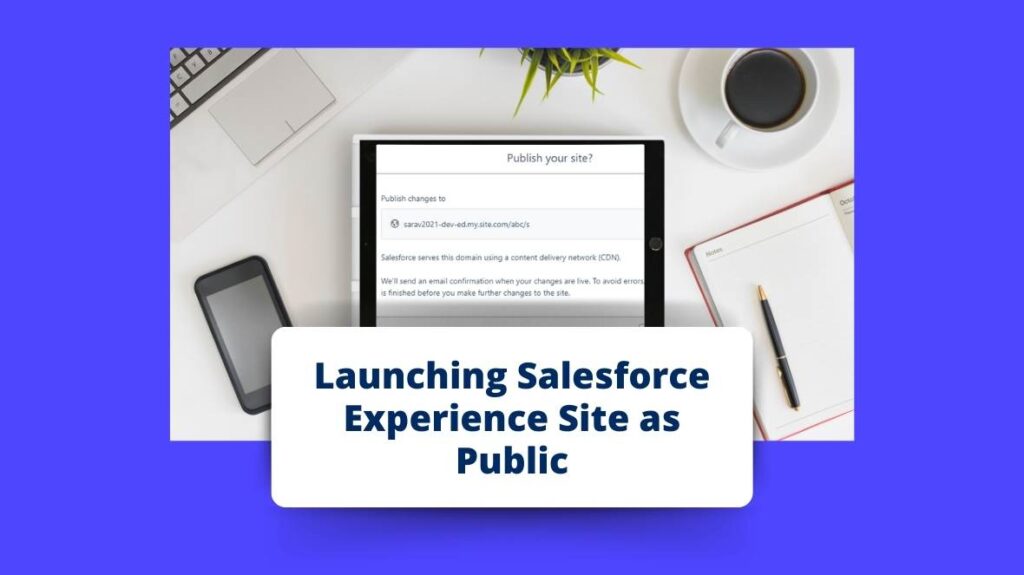
Open Site Settings:
Within the Experience Builder editor, click on the Settings (gear icon) in the top-right corner of the screen.
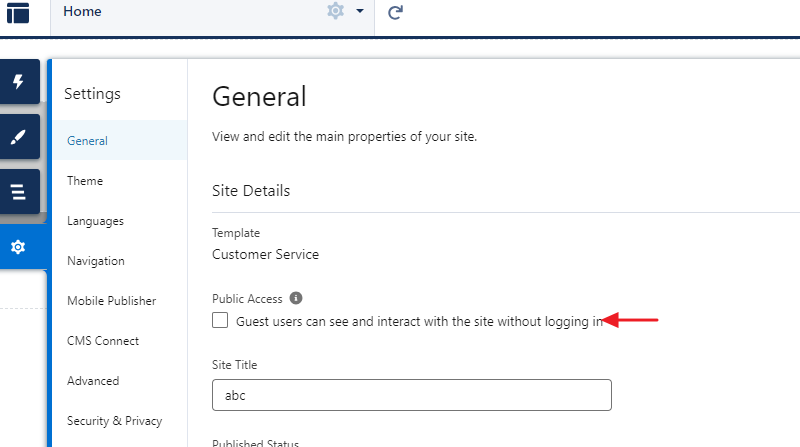
Once ticked, click on the “Publish” button in the top-right corner of the Experience Builder editor to publish the changes to your Experience Site.
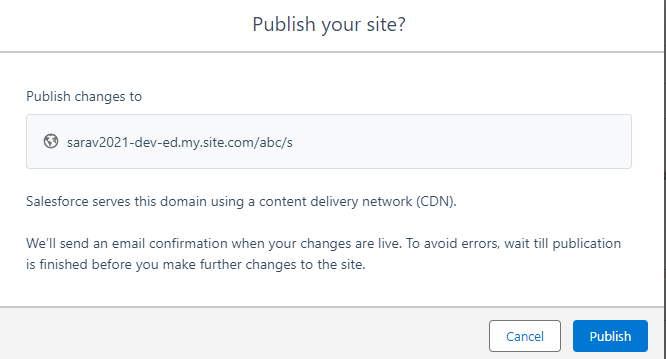
Confirm Public Access:
After publishing the changes, verify that your Experience Site is now accessible to the public by opening a new browser window or tab and navigating to the site’s URL.
Test Site Access:
Test the accessibility and functionality of your public Experience Site by navigating through its pages and features as a visitor would.
By following these steps, you can make your Experience Site public in Salesforce, allowing external users to access and interact with the site’s content and features.
To explore a similar feature, check out the link.