
Introduction:
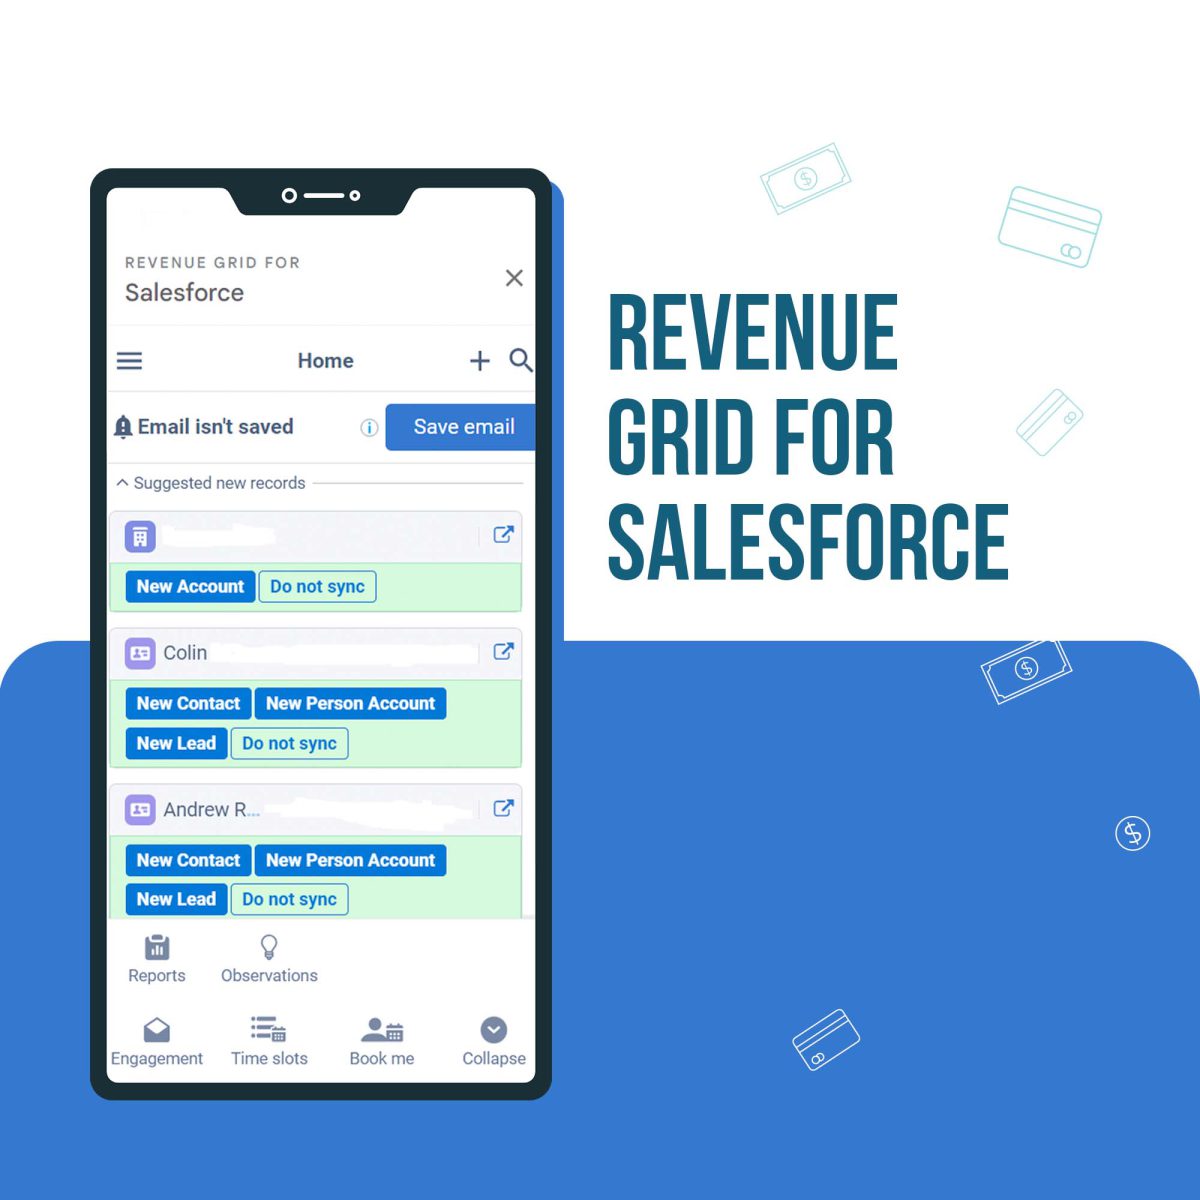
As a business, it’s essential to have a clear understanding of your revenue streams. A revenue grid is a useful tool that helps you track your revenue and analyze your business performance. Integrating your revenue grid to Salesforce can help you streamline your revenue management process and get a comprehensive view of your sales pipeline. In this blog, we’ll discuss the benefits of integrating a revenue grid to Salesforce and the steps to do so.
Benefits of integrating a revenue grid to Salesforce using a Gmail plugin:
Easy access to revenue data: Integrating your revenue grid to Salesforce using a Gmail plugin allows you to access your revenue data directly from your Gmail inbox. You can view your revenue data alongside your emails and get a better understanding of your business performance.
Streamlined revenue management process: With a revenue grid integrated to Salesforce using a Gmail plugin, you can automate your revenue management process. You can set up workflows that automatically update your revenue data and create reports based on your revenue metrics.
Improved forecasting: Integrating your revenue grid to Salesforce using a Gmail plugin can help you improve your forecasting accuracy. You can use historical data to predict future revenue and make data-driven decisions.
Comprehensive sales pipeline view: By integrating your revenue grid to Salesforce using a Gmail plugin, you can get a comprehensive view of your sales pipeline. You can view your revenue data alongside your sales data and get a better understanding of your sales performance.
Steps to integrate a revenue grid to Salesforce using a Gmail plugin:
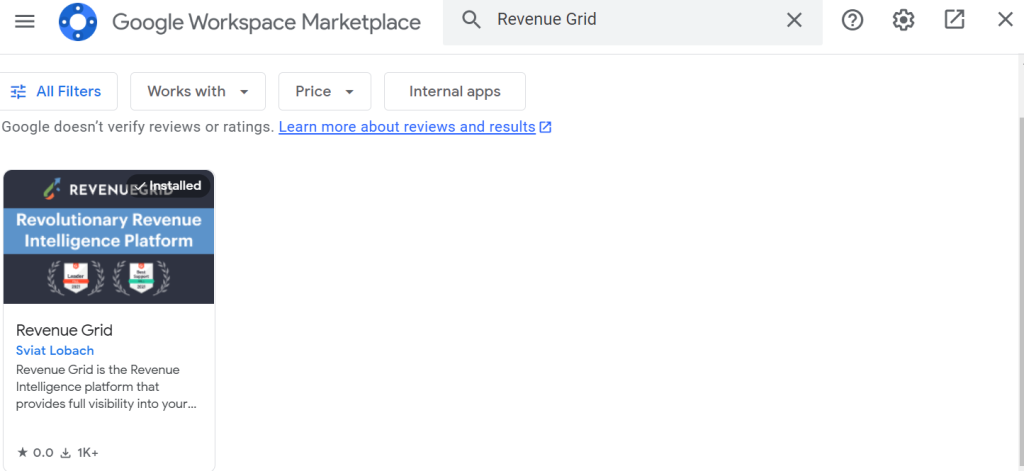
Install the Revenue Grid plugin for Gmail: Go to the Google Workspace Marketplace and search for “Revenue Grid” Click on the “Install” button to add the plugin to your Gmail account.
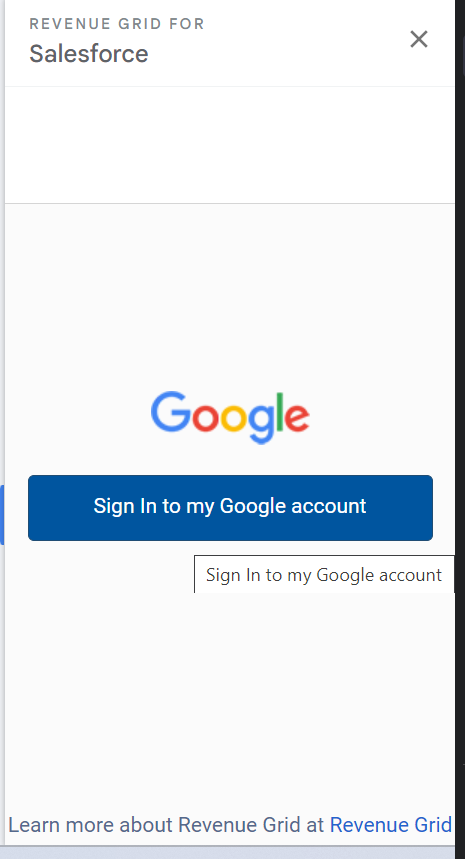
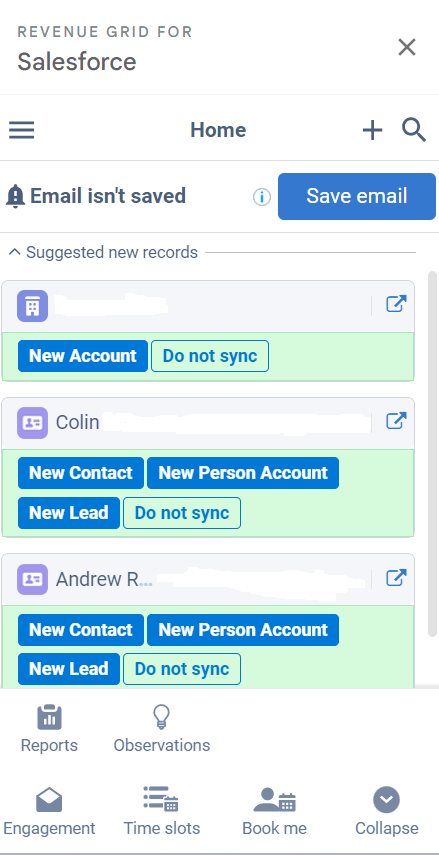
Connect your Gmail account: After installing the plugin, open an email in Gmail and click on the Revenue Grid icon located on the right side of the email.
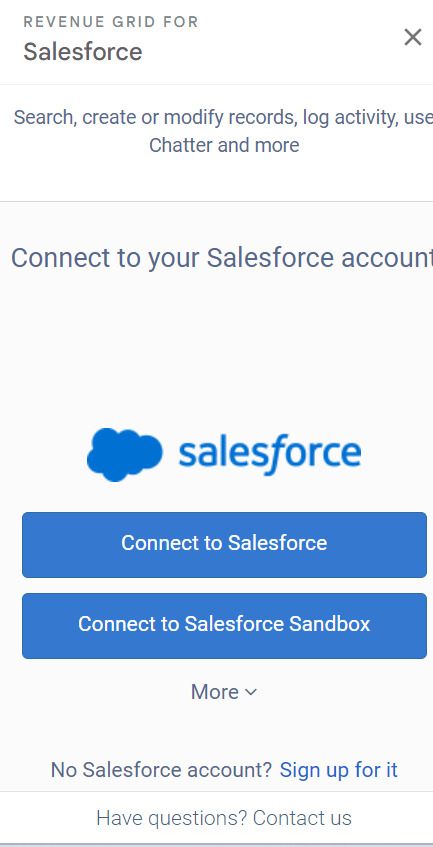
Connect your Salesforce account: After connecting the Gamil then need to connect salesforce. In the Revenue Grid sidebar that appears, click on the “Salesforce” tab and select “Connect to Salesforce.” Follow the prompts to log in to your Salesforce account and grant permissions to Revenue Grid.
Enable Salesforce Sync: Once you’ve connected your Salesforce account, you can enable Salesforce Sync to automatically sync your emails and calendar events to Salesforce. To do this, click on the “Settings” tab in the Revenue Grid sidebar, select “Sync,” and toggle on “Salesforce Sync.”
Use the plugin features: With the plugin installed and Salesforce connected, you can now use features such as Email Tracking, Email Templates, and Calendar Sync to streamline your sales workflow and keep track of your interactions with prospects and customers.
By following these steps, you can use the Revenue Grid plugin for Gmail to connect with Salesforce and improve your sales productivity
Conclusion:
Integrating your revenue grid to Salesforce using a Gmail plugin can help you streamline your revenue management process and get a comprehensive view of your sales pipeline. By following the steps outlined in this blog, you can set up an integration that automates your revenue tracking and helps you make data-driven decisions. Choose a revenue grid that has a Gmail plugin available and start integrating your revenue grid to Salesforce today.