
Imagine you’re a Salesforce admin, seamlessly cruising through the intricate world of flows, designing powerful automation to drive your organization’s success. But suddenly, you hit a roadblock, an error message, or an unexpected outcome, and you’re left wondering, “Where did I go wrong?” Fear not, for the trail to mastery in Salesforce often involves decoding the enigmatic Fault Path Component!
In this adventure, we will embark on a journey to unravel the secrets of the Fault Path Component in Salesforce flows.
The Flow Adventure Begins
Flows are the backbone of automation in Salesforce. They allow us to create dynamic processes without writing code. But like any adventure, working with flows can sometimes lead you into uncharted territories. That’s where the Fault Path Component comes to the rescue!
What is the Fault Path Component?
The Fault Path Component is like your trusty map in this Salesforce adventure. It’s a vital element within a flow that helps you manage exceptions, errors, and unexpected twists in your automation. Think of it as the safety net that ensures your flow keeps running smoothly, even when unexpected errors occur.
When Does It Come into Play?
Imagine you’re creating a flow to update records or send emails. Everything’s going perfectly until an error arises. Perhaps a record doesn’t meet certain criteria, or there’s an issue with sending an email. Instead of your flow crashing, the Fault Path Component helps you gracefully handle these errors.
Tips for Mastering the Fault Path Component
Here are some tips to help you become a pro:
1. Understand Error Types
Familiarize yourself with the different types of errors you might encounter in your flows. This will help you tailor your Fault Path Component’s actions to specific scenarios.
2. Test Thoroughly
Before deploying your flow, rigorously test it to identify potential error scenarios. This way, you can configure the Fault Path Component to handle them effectively.
3. Use Meaningful Messages
When setting up error messages or notifications, ensure they are user-friendly and provide clear guidance on how to resolve the issue. This enhances the user experience and reduces confusion.
Let’s explore the process of incorporating a fault path component, our safety net, into the flow.
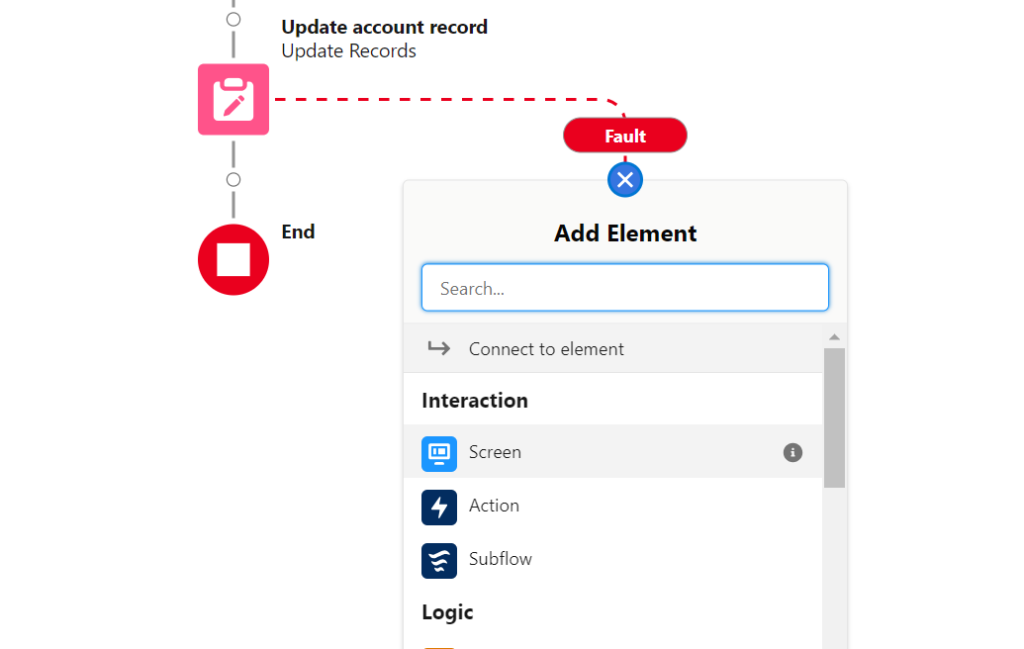
Step 1: Build Your Flow
Use Flow Builder to construct your automation. This can involve various elements like Record Updates, Record Creates, Decision elements, and more. For the sake of this example, let’s assume you have a simple flow that updates an account record.
Step 2: Identify Potential Faults
While building your flow, identify points where errors might occur. These could be due to missing data, record not found, or other exceptions.
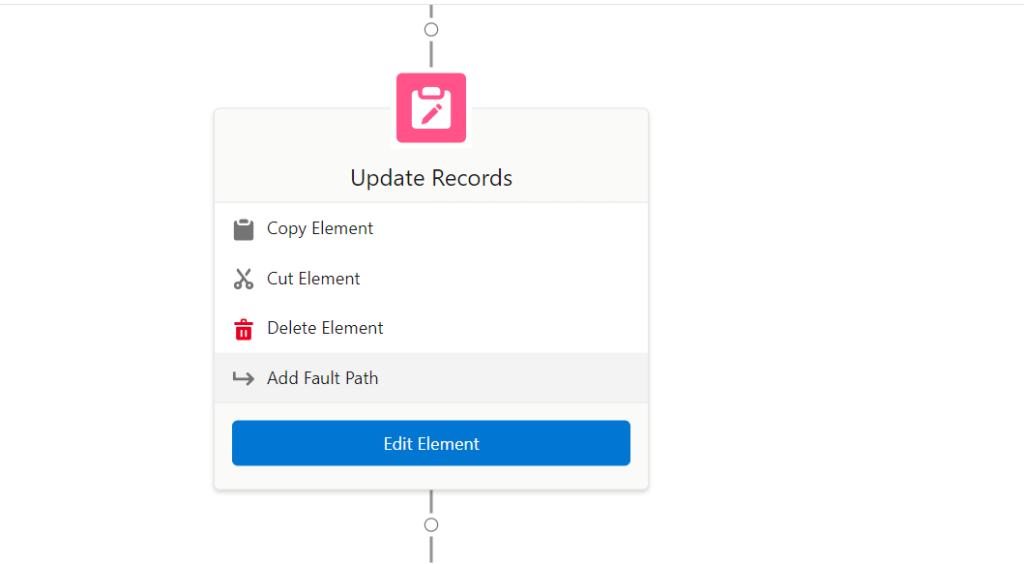
Step 3: Add a Fault Path Component
To handle errors, click the “Add Fault Path” element. This element represents the path your flow will follow when an error occurs.
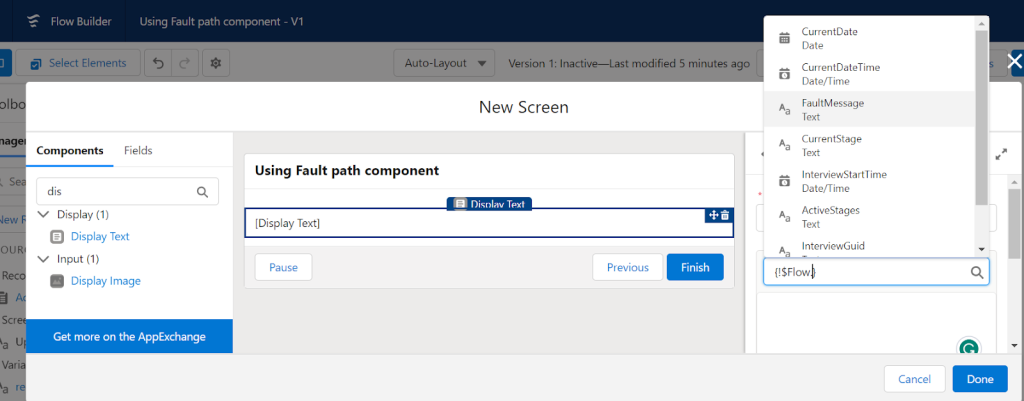
Step 4: Configure the Fault Path Component
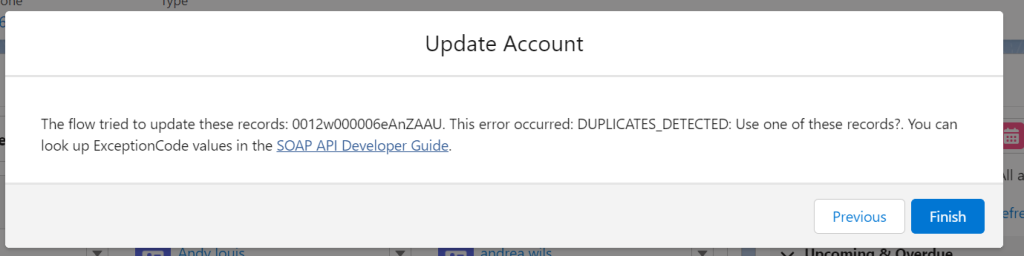
Click on the Fault Path element to configure it. You’ll see a section for “Fault Messages” where you can define error messages or explanations that will be shown to users when an error occurs.
Step 5: Test Your Flow
It’s crucial to thoroughly test your flow, especially the error handling. Trigger your flow with different scenarios to ensure that it gracefully handles errors according to your configurations in the Fault Path Component
Using the Fault Path Component in Salesforce Flow allows you to create robust and user-friendly automation that can gracefully handle errors and exceptions, ensuring a smoother experience for both users and administrators. Happy Flowing!!!