
Introduction
In today’s digital age, providing seamless experiences for your customers, partners, and community members is essential for success. With Salesforce Screen Flows, you can create interactive, guided experiences accessible through Salesforce sites, even for guest users who aren’t logged in to Salesforce. Let’s explore how Screen Flows can empower your organization to engage with your audience like never before.
What are Salesforce Screen Flows?
- Definition: Salesforce Screen Flows are dynamic processes designed to lead users through a sequence of screens, facilitating data collection, task execution, or decision-making.
- Features: Visual drag-and-drop interface, support for complex logic and branching, integration with Salesforce data and processes.
- Benefits: Streamline processes, improve user experience, increase data accuracy, and drive user engagement.
Empowering Guest Users with Screen Flows
- Accessible Experiences: With Salesforce sites, you can expose Screen Flows to guest users, enabling them to interact with your organization without needing a Salesforce login.
- Use Cases: Lead capture forms, customer support portals, event registrations, surveys, and more.
- Customization: Customize the flow experience to align with your brand’s aesthetic, creating a consistent and seamless experience for users.
How It Works: Creating a Screen Flow for Guest Users
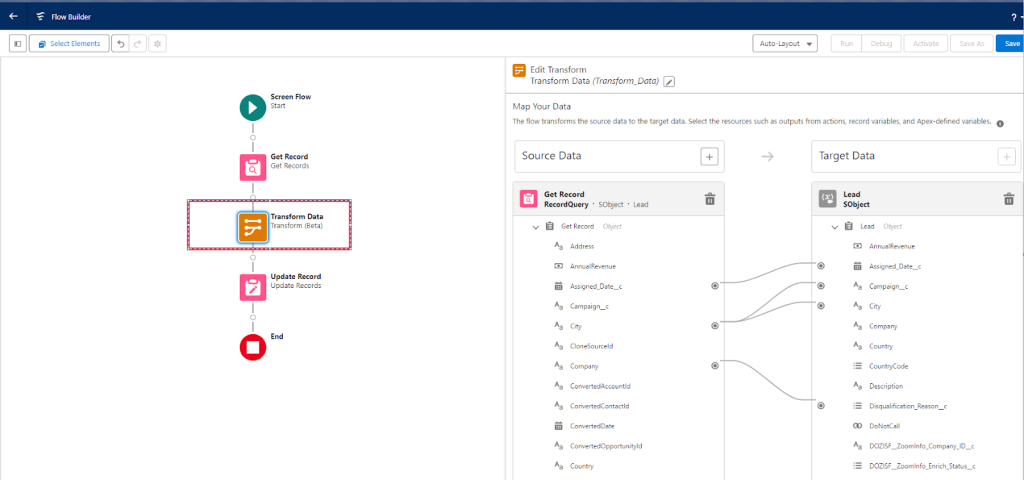
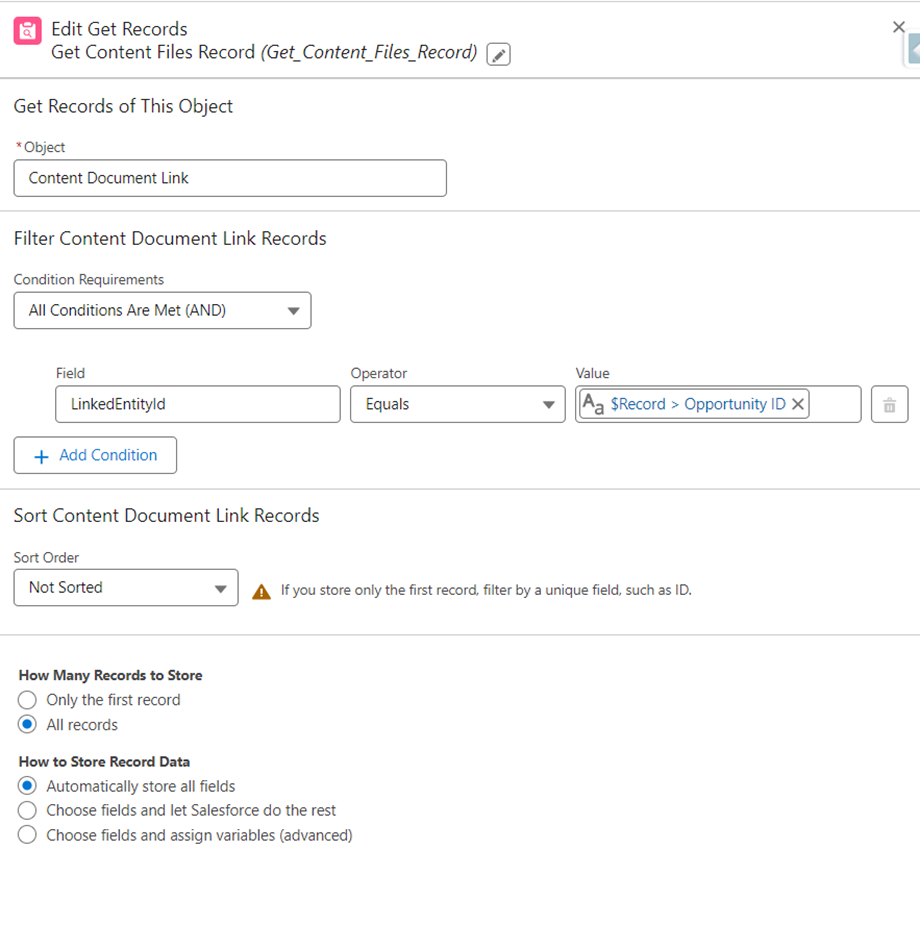
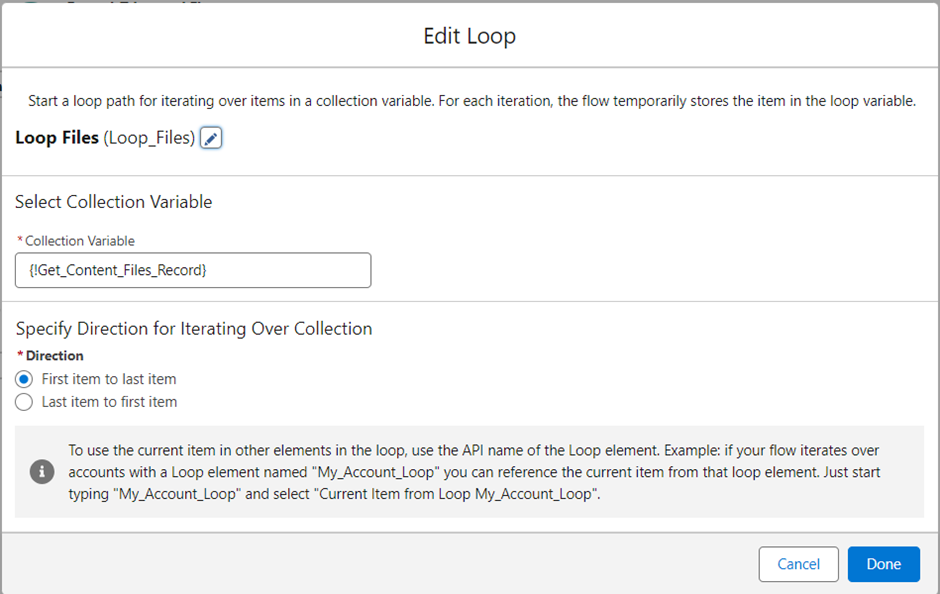
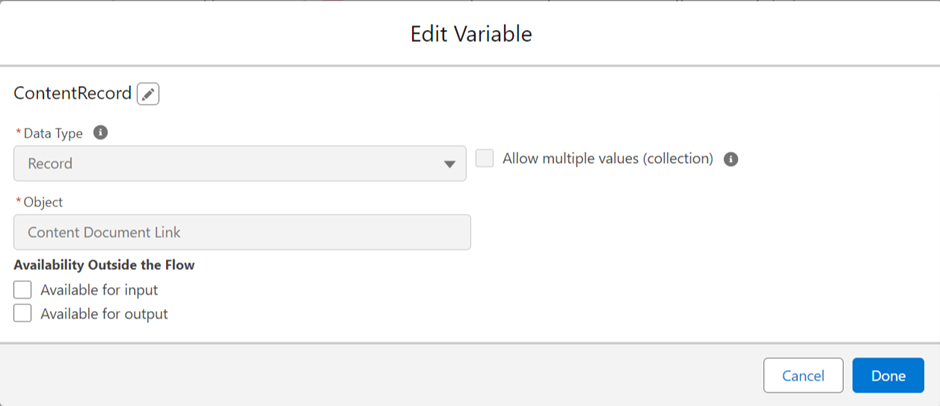
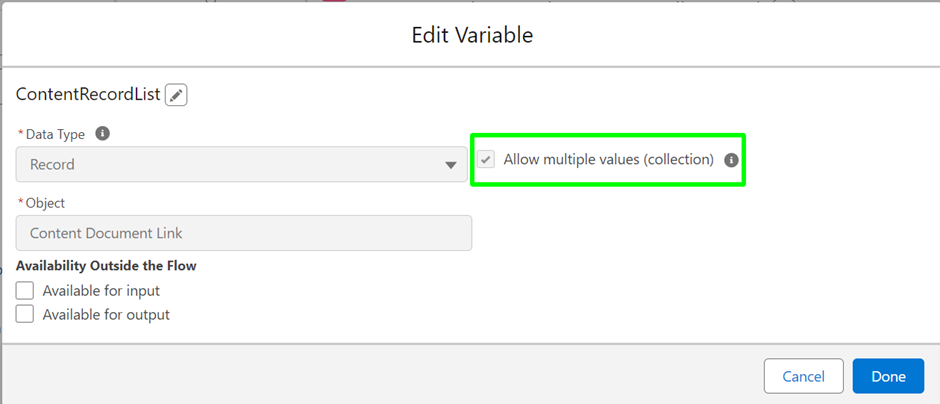
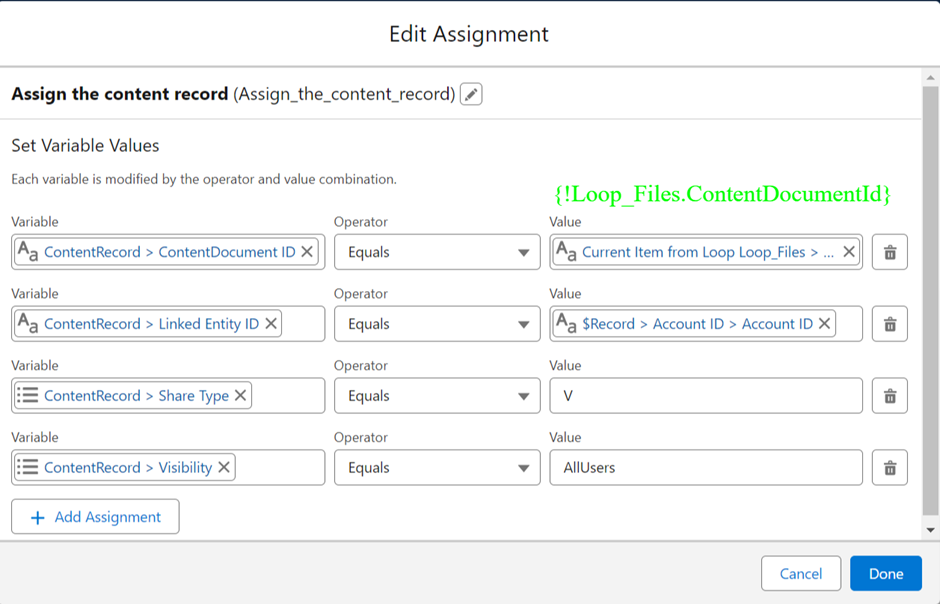
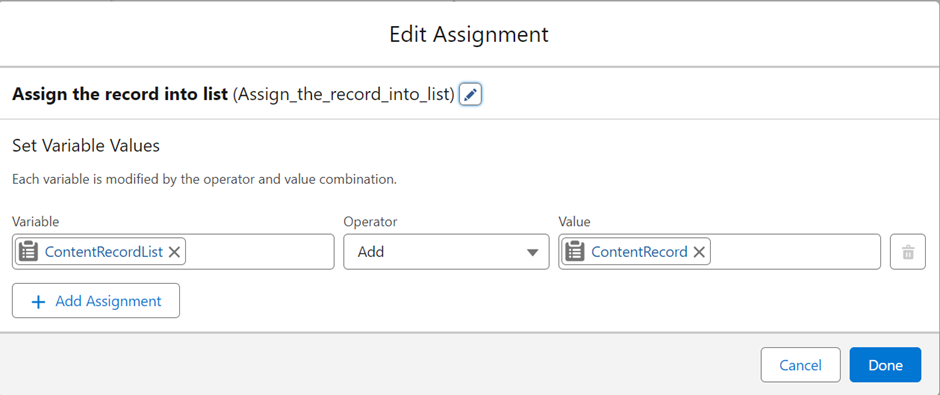
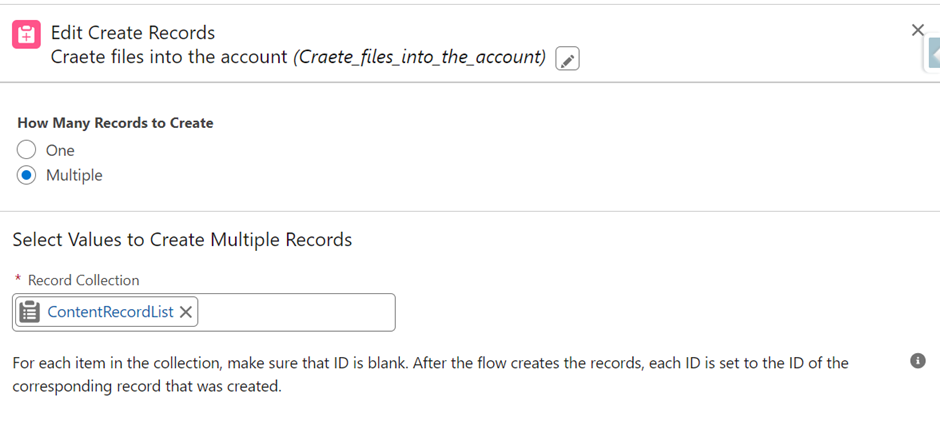
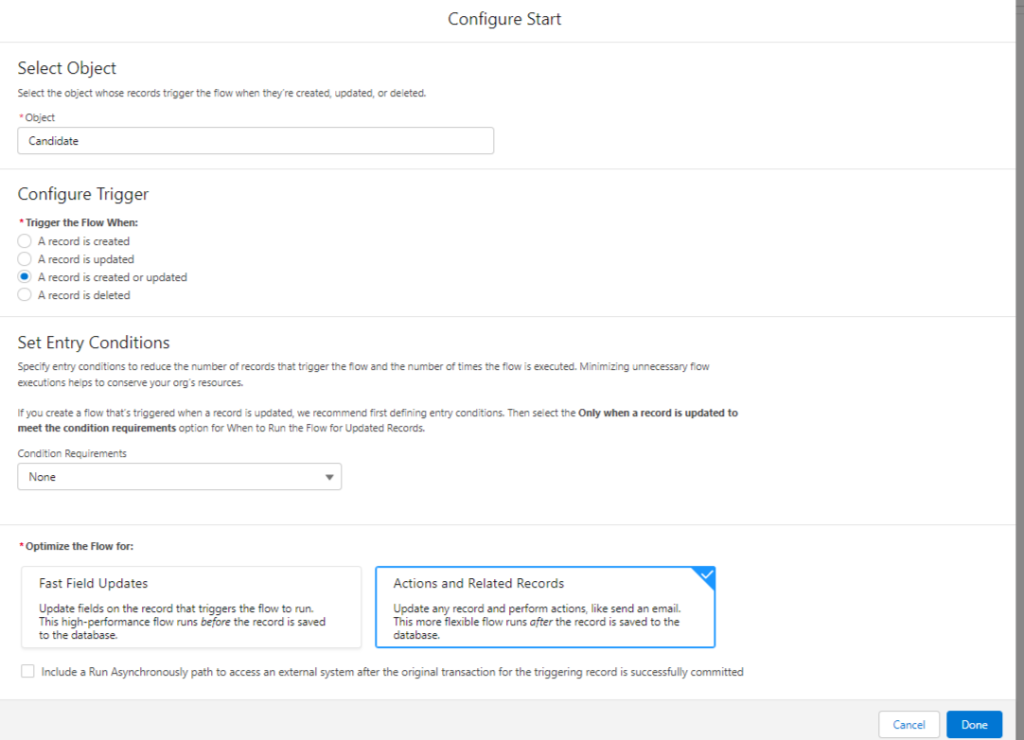
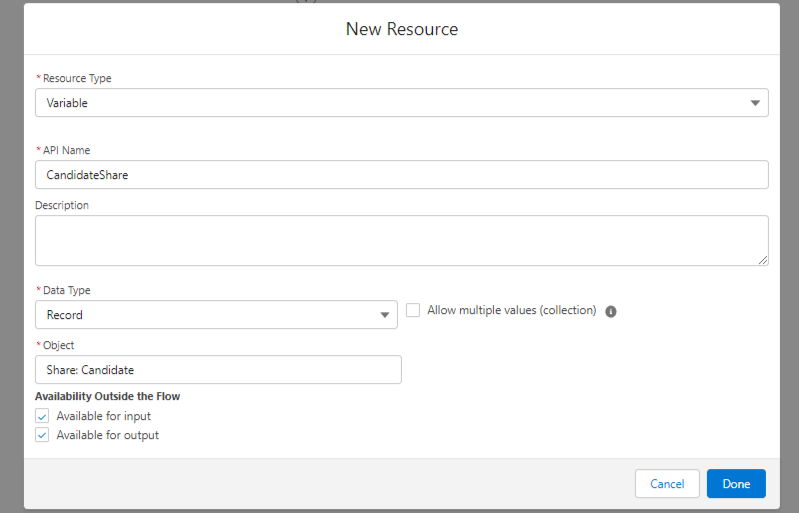
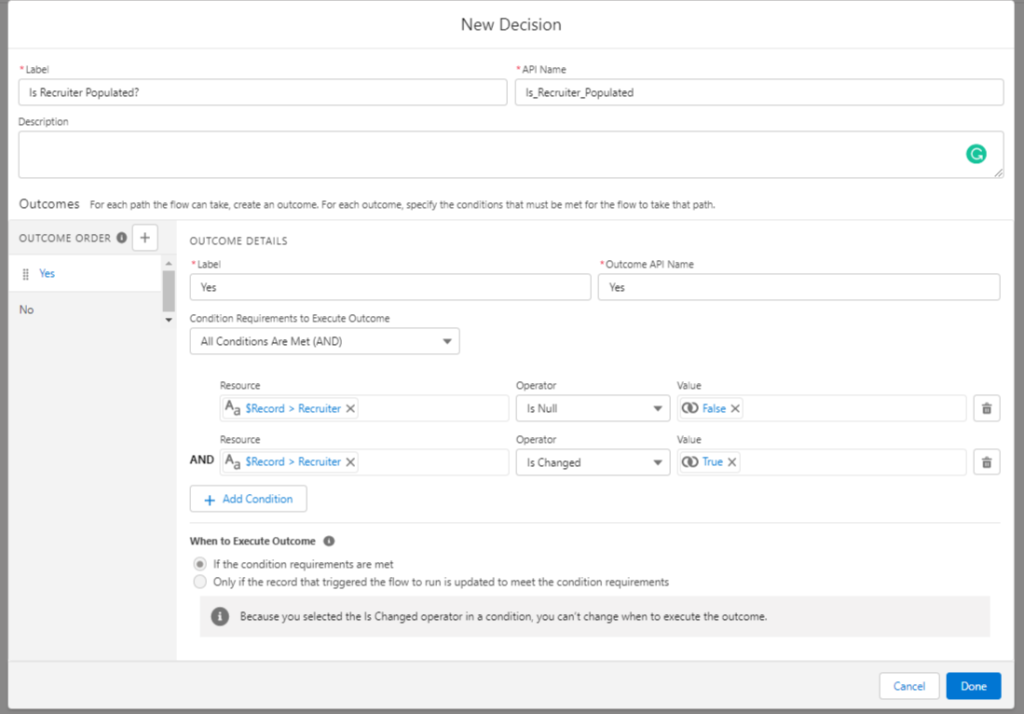
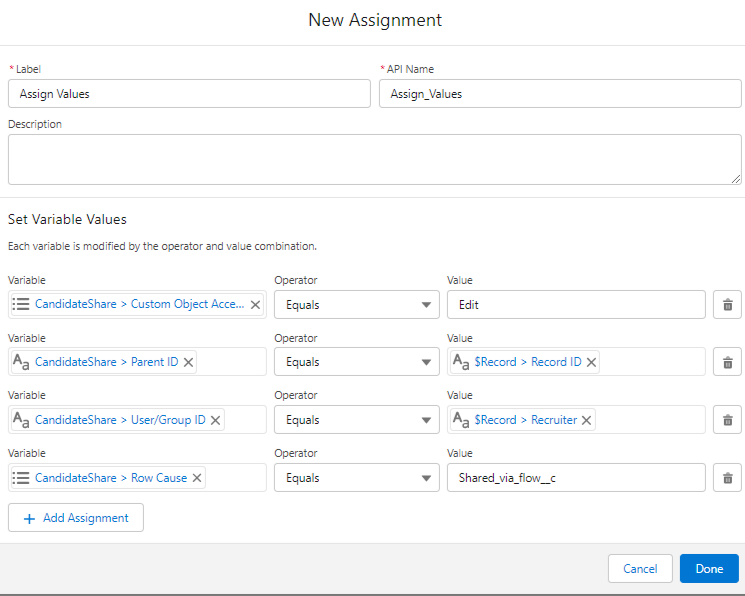
1. Design Your Flow: Use the Flow Builder in Salesforce to create a Screen Flow tailored to your specific use case.
2. Configure Site Settings: Set up a Salesforce site and configure permissions to allow guest users to access the Flow.

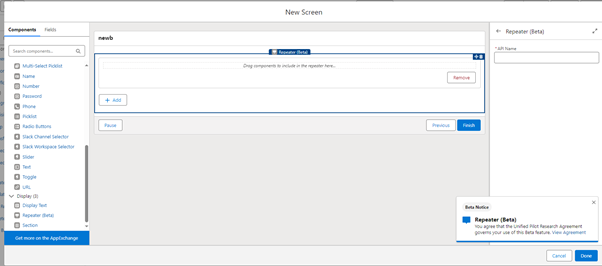
3. Embed the Flow: Embed the Screen Flow component onto your Salesforce site, making it accessible to guest users.

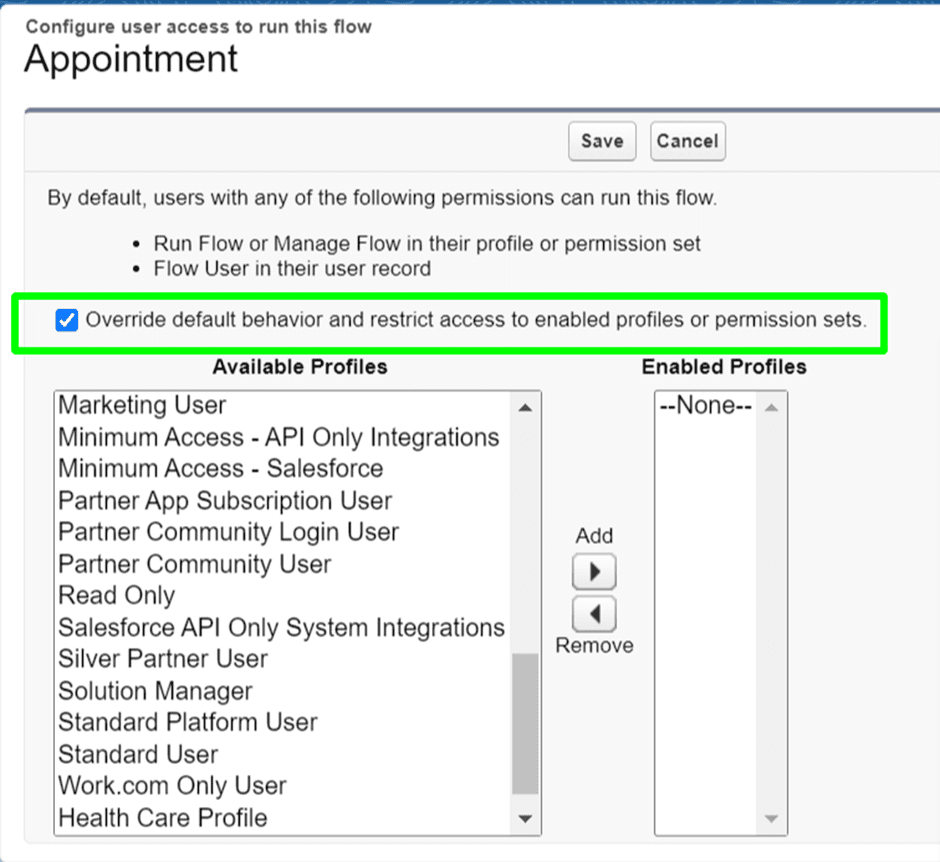
4. Adjust your screen flow’s access by selecting the option “Adjust the default settings by restricting access to selected profiles or permission sets,” and then save the changes.
5. Go to your Guest user profile by using the site builder setting to access your guest user profile in salesforce.

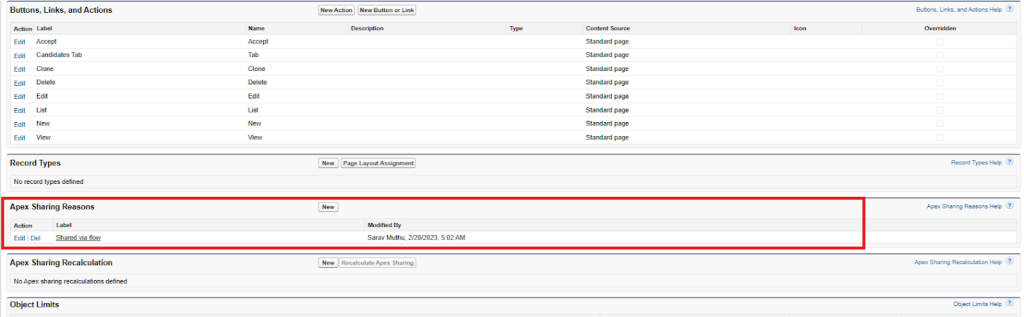
6. Add your flow into the profile by using “Enabled Flow Access”.

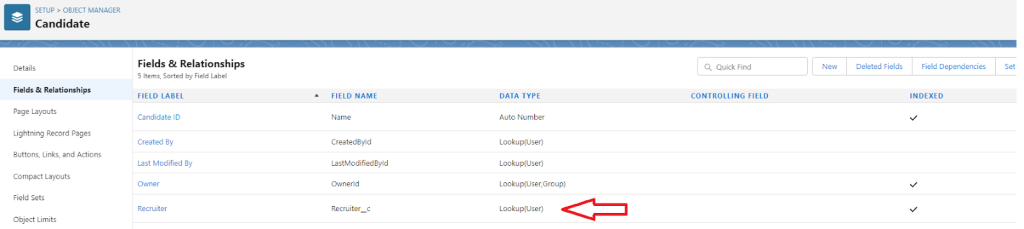
And don’t forget to provide access to appropriate objects that are used in your screen flow.
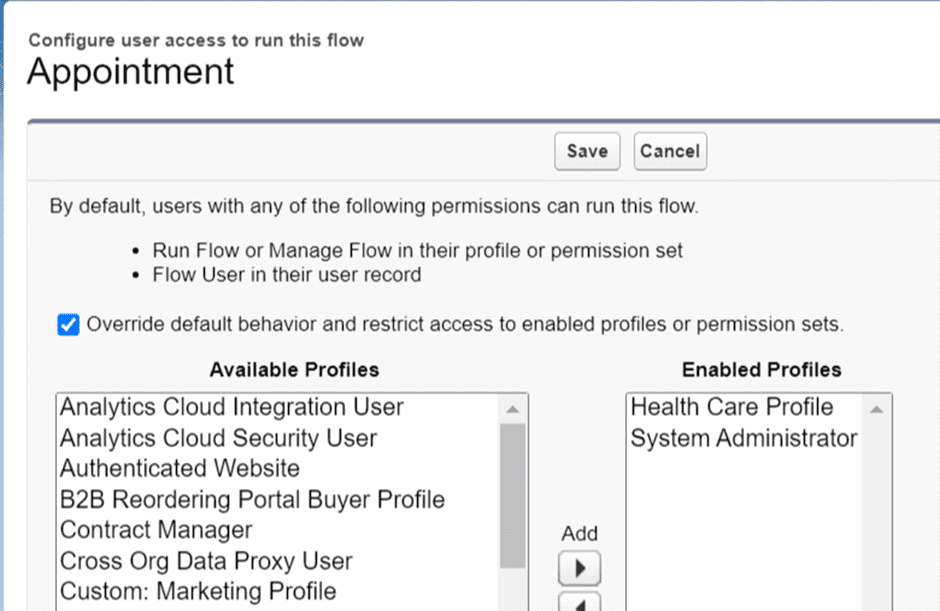
7. Make sure to set up the flow edit access again to ensure that your guest user profile and system admin profile are added.
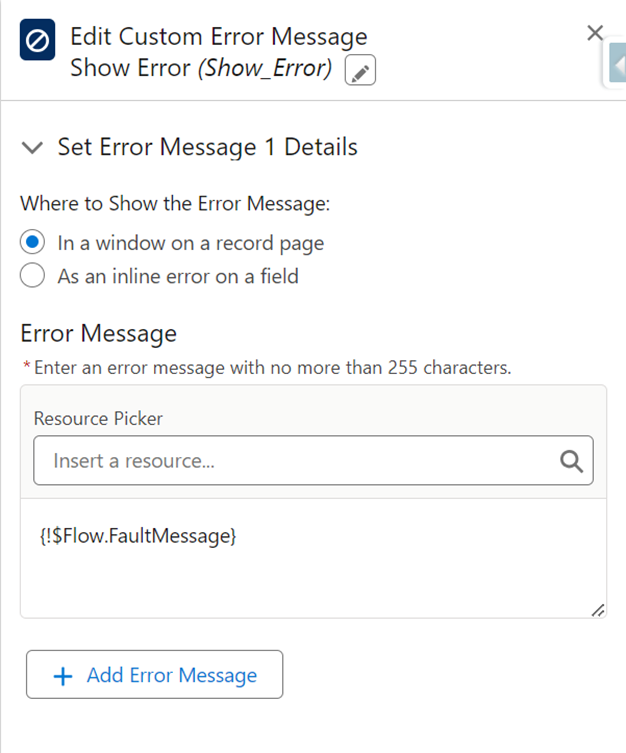
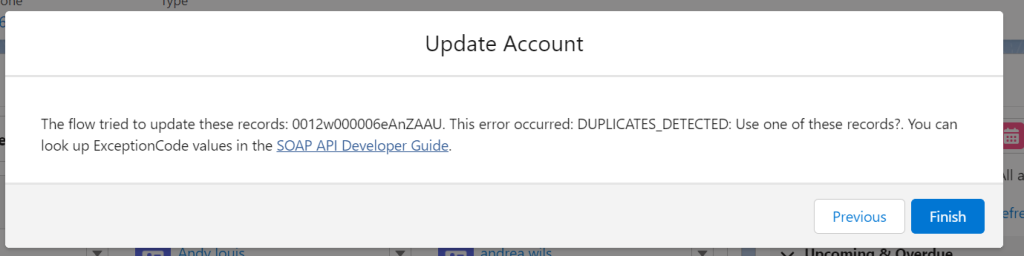
8. Test and Iterate: Thoroughly test the flow experience to ensure it meets the needs of your audience, and iterate based on feedback.
Benefits of Screen Flows for Guest Users
- Enhanced Engagement: Interactive and guided experiences keep users engaged and increase completion rates.
- Data Collection: Collect valuable information from guest users to drive marketing, sales, and service efforts.
- Scalability: Gather pertinent data from guest users to enhance your marketing, sales, and service approaches.